02 Importing 3D models of thoughts into StarLogo TNG.
This guide will show you how to import 3D models of thoughts into a StarLogo TNG project.
Before you start this guide you should look at Getting Started with StarLogo TNG.
What if thoughts had different shapes, colours and textures?
Importing .obj files…
Obj is a popular 3D file format. You can export .obj files from most 3D programs, including Blender.
– Download and unzip 3D models of thoughts from the 3D models page at Flunstellas.org
– make a new folder called ‘thoughts’ at the location shown below. Copy the unzipped 3D flunstellas models and the folder they a in, into the thoughts folder.
– Mac = Applications/StarLogo TNG/Models
-Windows = Program Files\StarLogo TNG/models
Importing 3D Models
In the Blocks Window…
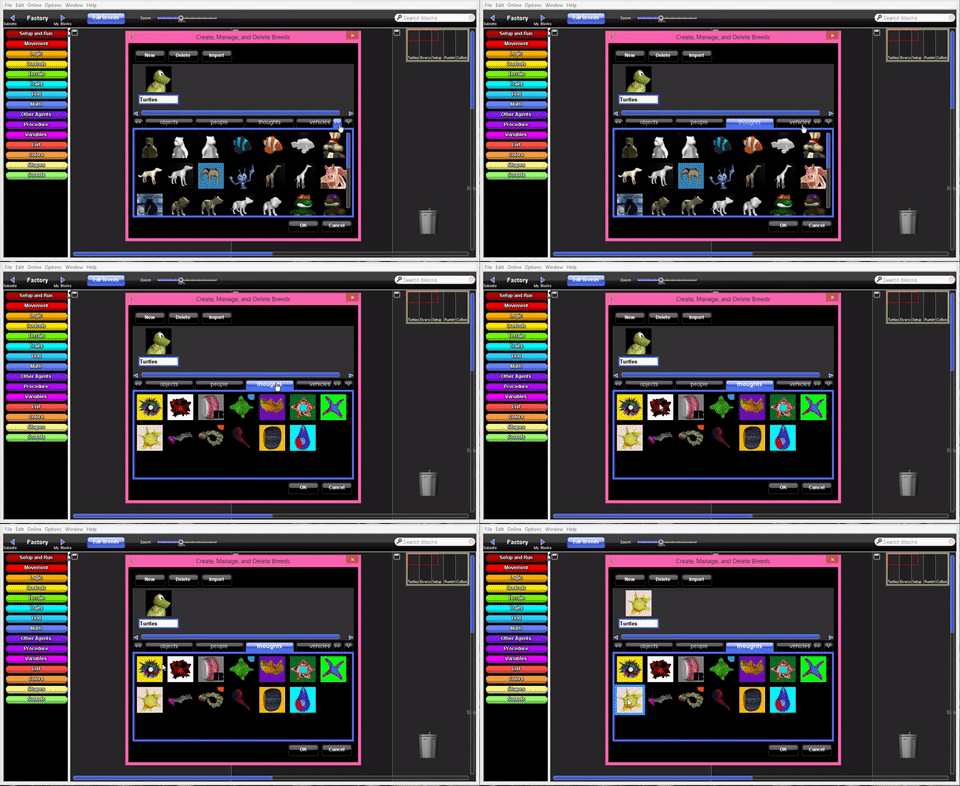
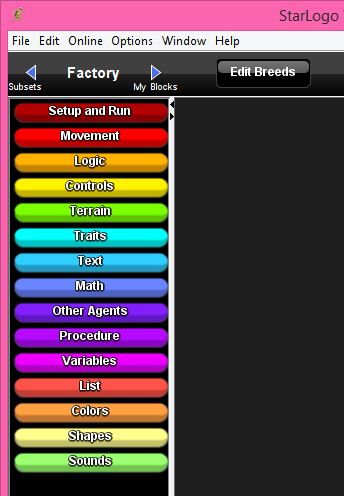
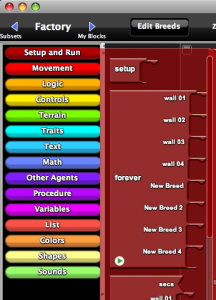
– Click on the ‘Edit Breeds’ tab, to the right of ‘My Blocks’.
Adding Breeds
StarLogo TNG is populated by breeds, when you create a breed, your simulation or game can choose to use 1 or 101 of that breed, and any instruction you give to one, will be given to all.
In the Breeds window.
– Click ‘New’ and navigate to the ‘Thoughts’ tab, below the top layer of thumbnails.
– Choose one of the models with a grey background and large ‘B’ in the Thumbnail.
– Give that breed of thought a name by typing under its thumbnail.
– Click ‘Ok’
Creating a new Set Up Block
– Click and drag your along the Canvas, until you get to the SetUp page.
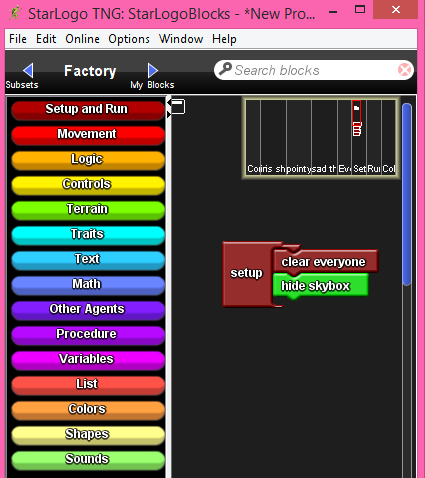
– Open ‘Set Up & Run’ and drag out a ‘SetUp’ block and place it on the Set Up page, on the Canvas.
– You can rename the ‘Set Up’ block by clicking on the word
Set up & Editing it.
– Drag out a ‘Clear Everyone’ block from the ‘Set Up & Run’ drawer, and place it in the ‘Set Up’ Block.
– Drag out a ‘Hide Skybox’ block from the ‘Terrain’ drawer and place it in the ‘Set Up’ Block.
The Create Do Block
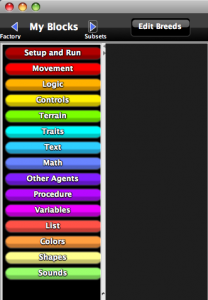
– Click on the Blue Arrow to the right of ‘Factory’, this will take you to ‘My Blocks’.
– Each Breed has it’s own blue ‘Drawer’ of blocks.
– Click on the blue tab with your new breeds name on it.
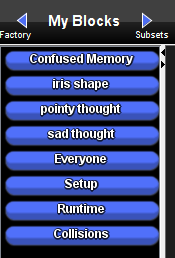
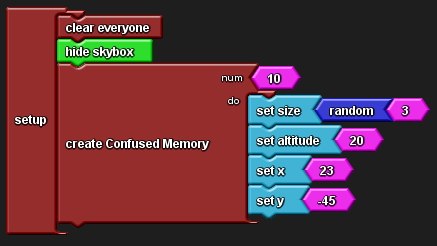
Drag a “Create Do” block out onto the “Set Up” page, and place it in your new “Set Up” block, underneath Clear Everyone. Each “Create Do” block has the name of its breed, so yours will be called “Create ‘MyBreedsName’ Do”
The “Create Do” block is different to the “Create” block, as it allows us to tell the breed to ‘do’ certain things, as it is created, but for now we will leave the “DO” socket empty.
Viewing the SetUp in the SpaceLand Window
In the 3D ‘SpaceLand’ window.
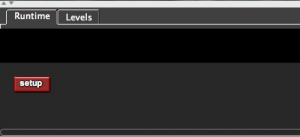
Click on the ‘SetUp’ block at the bottom left of the window.
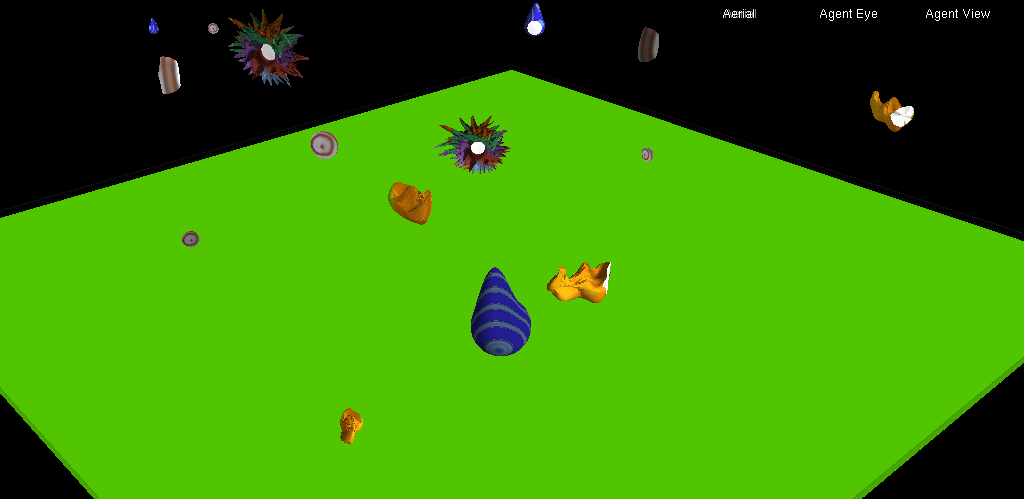
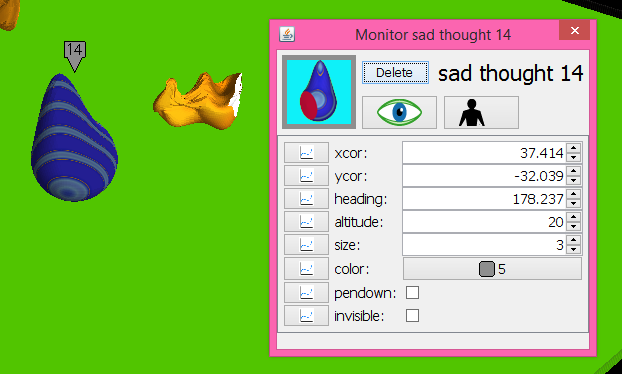
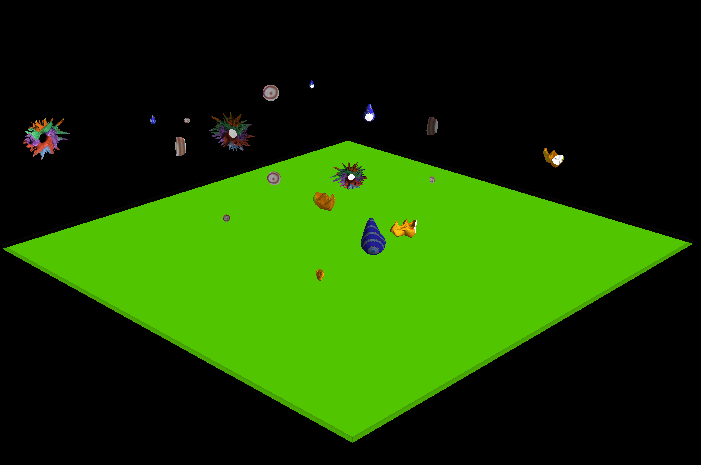
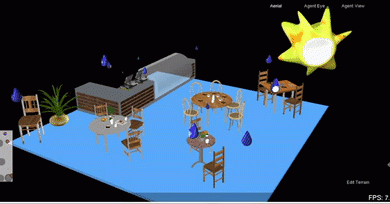
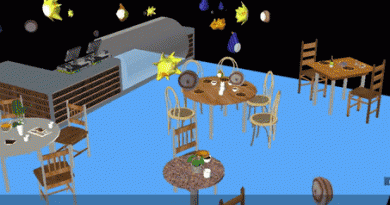
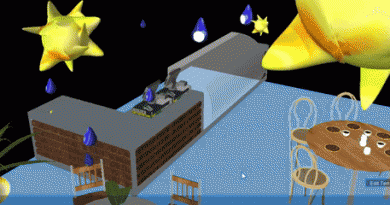
If you zoom in, you will be able to see the thought in the room, if you click on it, it’s monitor will pop up. You can view and change different attributes of the thought such as Xcoordinate, Size and Altitude.
How to program thoughts to appear in a certain position
What if thoughts were floating all around us?
In the “Blocks” window.
– Go to the ‘Factory’ and open the ‘Traits’ drawer.
– Drag out ‘Set XY’, ‘Set Size’ and Set Altitude’ blocks and
place them into the ‘Do’ socket of the ‘Create Do’ Block.
In the 3D “SpaceLand” window.
Click on the Flunstella model & its ‘Monitor’ window will pop -up.
– You can move the Flunstella to where you want it to be, by adjusting the ‘Xcor’, ‘Ycor’ & ‘Altitude’ by clicking on the up or down arrows to the right of the individual numbers.
In the Blocks window.
– You can now copy these numbers, and paste them into the ‘SetX’ and ‘SetY’ blocks.
How to scatter thoughts randomly
In the “Blocks” Window..
In the Blocks window go to the “Set Up” page on the Canvas.
– Click on the Blue Arrow to the right of ‘Factory’, this will take you to ‘My Blocks’.
– Each Breed has it’s own blue ‘Drawer’ of blocks.
– Click on the blue tab with your new breeds name on it.
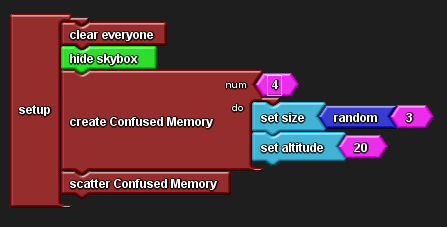
– Drag out a ‘Scatter’ block name from your thoughts drawer and place it underneath your thoughts ‘Create Do’ block.
Experiment with different numbers of thoughts and using different “Random” numbers, which are in the ‘Maths’ Drawer, to set traits such as size, altitude, heading, xcor, ycor & transparency (0 = solid, 100 = transparent).
As well as the guides on this website, the StarLogo TNG website has a great set of tutorials.

