
How to make a thought construction kit using Zometools
This guide will show you how adapt the Zometool construction kit so that it can be used to make models of thoughts. This activity makes use of a craft knife and superglue, so if you are under 16, get an adult to help you with those parts.
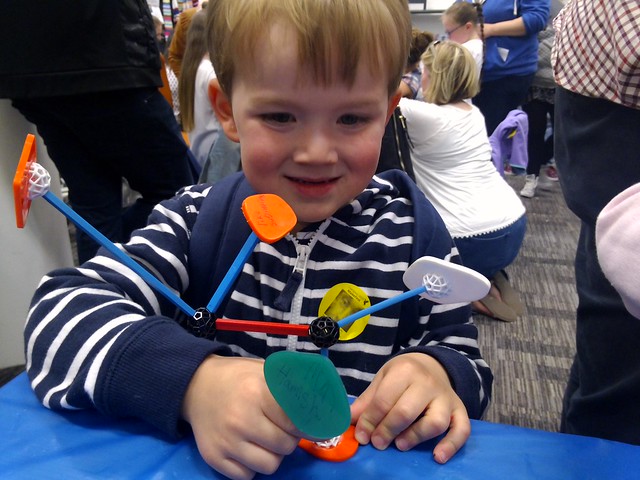
Zometool is a construction kit used to build 3D networks, they are normally used by children in school to create scientific models of D.N.A. or chemical compounds, but we’re going to use it to create networks of thoughts. Zometool models are made by connecting plastic rods with geometric ball like shapes so that they make 3D structures.
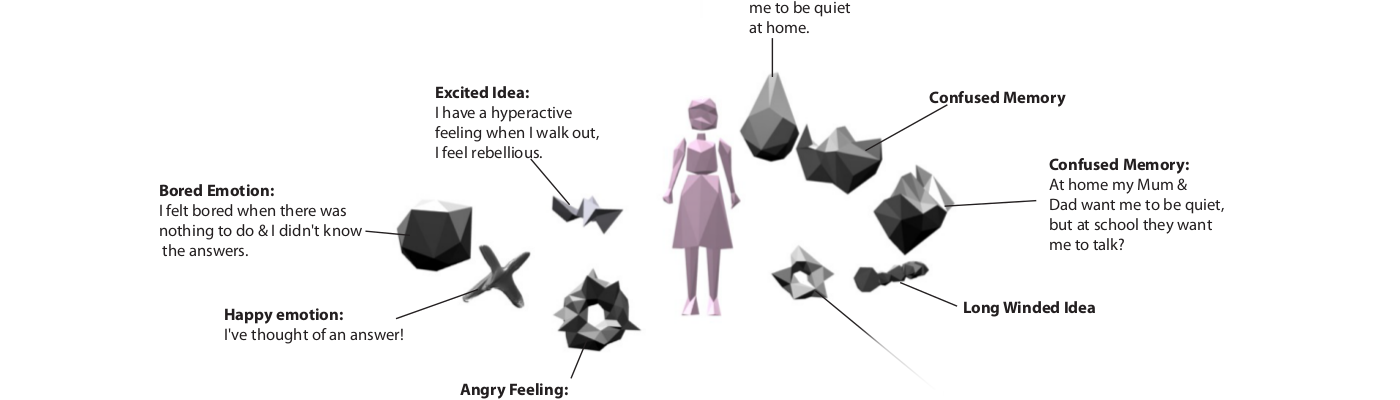
Here is an example, it is a a model I made in anticipation to a meeting. The last meeting with this group had been quite difficult and I was feeling nervous about how this one might go. This model is basically a bit of a moan in 3D, but models of thoughts can be about anything. I found building a model of my thoughts in 3D useful.
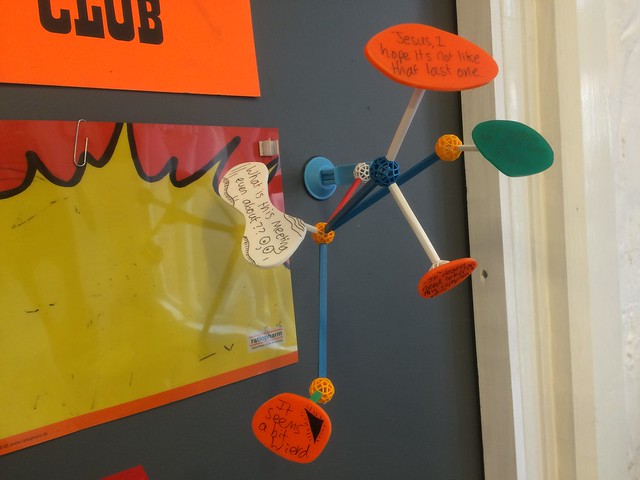
Because I was able to look at how the thoughts related to each other from different angles. If I had more time I could have added some more thoughts looking at the problem from a different (and more positive) angle, or maybe added some that got more angry still.
As I made the model I asked myself these questions?
Which thoughts should be connected to which?
How close should different thoughts be to each other?
How should the thoughts be arranged in space, above, below, to the left or right?
What direction should different thoughts be facing, the same, slightly different, completely different?
To make your own Thought Network Kit using Zometools you will need
- Zometools
- A small whiteboard
- Scissors
- A craft knife
- A cutting board
- Very fine sandpaper (Wet & Dry)
- Superglue
- A dry wipe marker
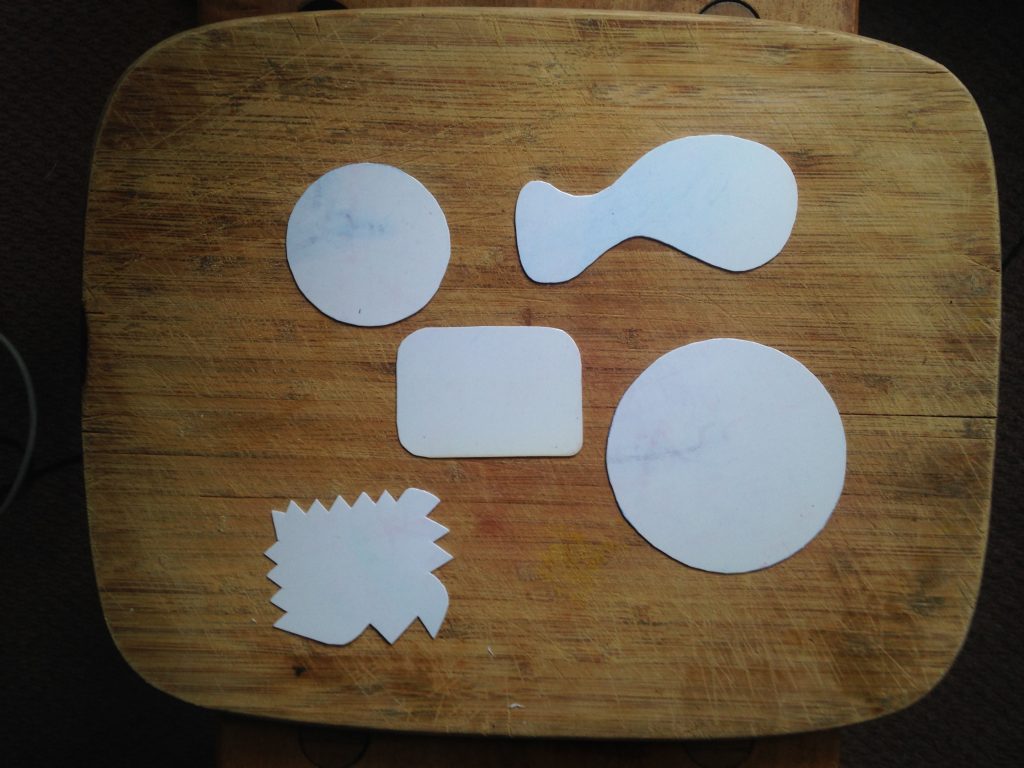
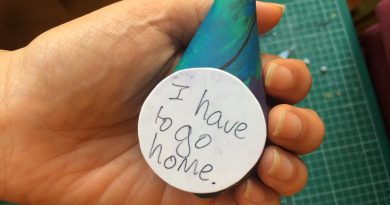
Take your whiteboard and cut out a mixture of interesting shapes about 5cm – 10cm across. You may find it helps to draw the shapes onto the whiteboard before you cut them.
Alternatively for a more accurate finish, you could laser cut a set of shapes into thin acrylic sheet 2mm – 5mm using a vector file like this. Click here to download the .dxf vector file.


Use a craft knife to cut a Zometool ball in half, cut one segment at a time. This is fiddly, it’s worth taking your time and being patient with it. Try not to squeeze the Zometool together too much as you are holding it as this makes it harder to cut.
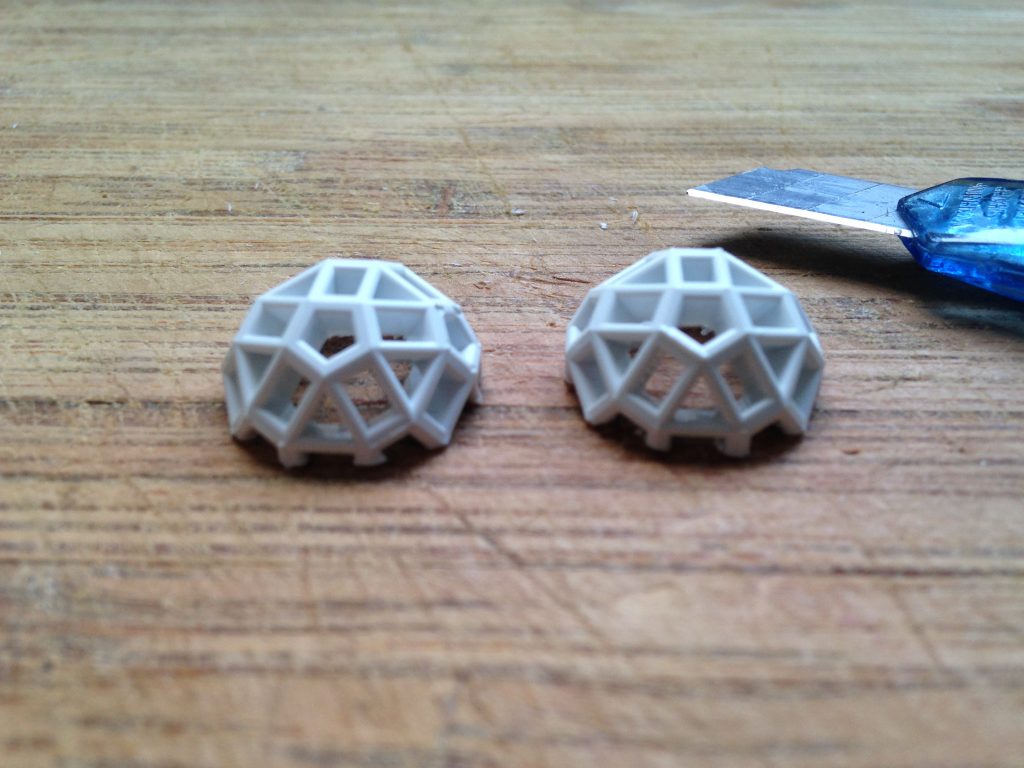
Once you have cut the Zometool it should look like this. Keep cutting Zometool parts up until you have one half for each of your whiteboard shapes.
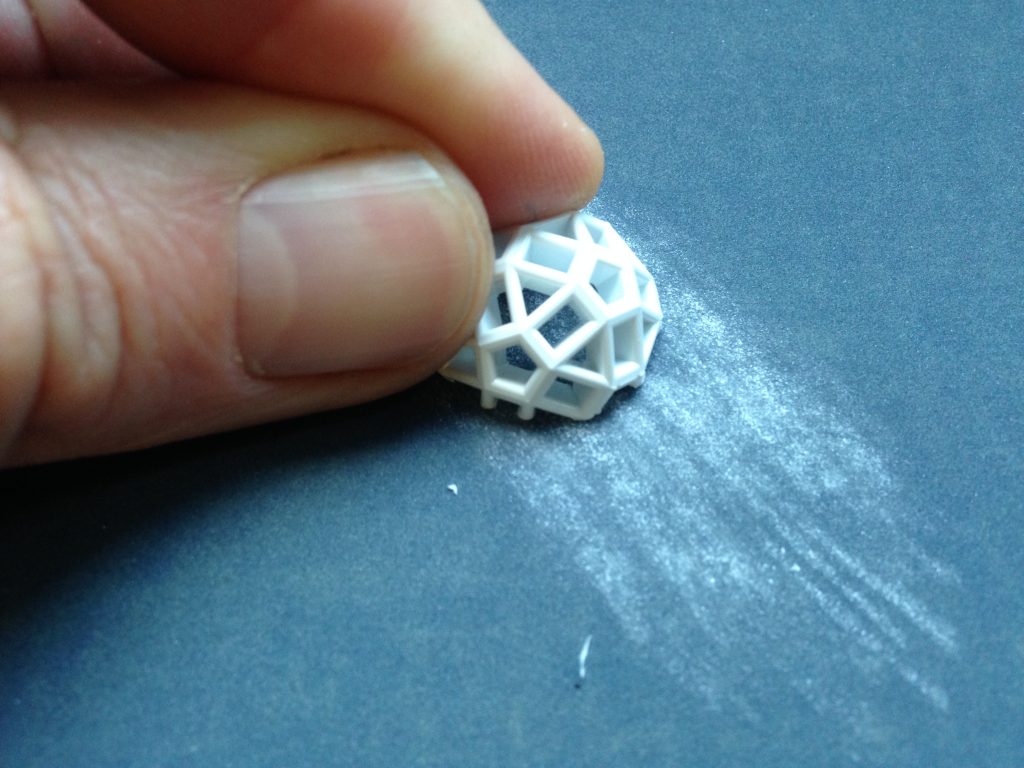
Use some extra fine sandpaper to sand down the newly cut edges of the Zometool until the edges are smooth and even.
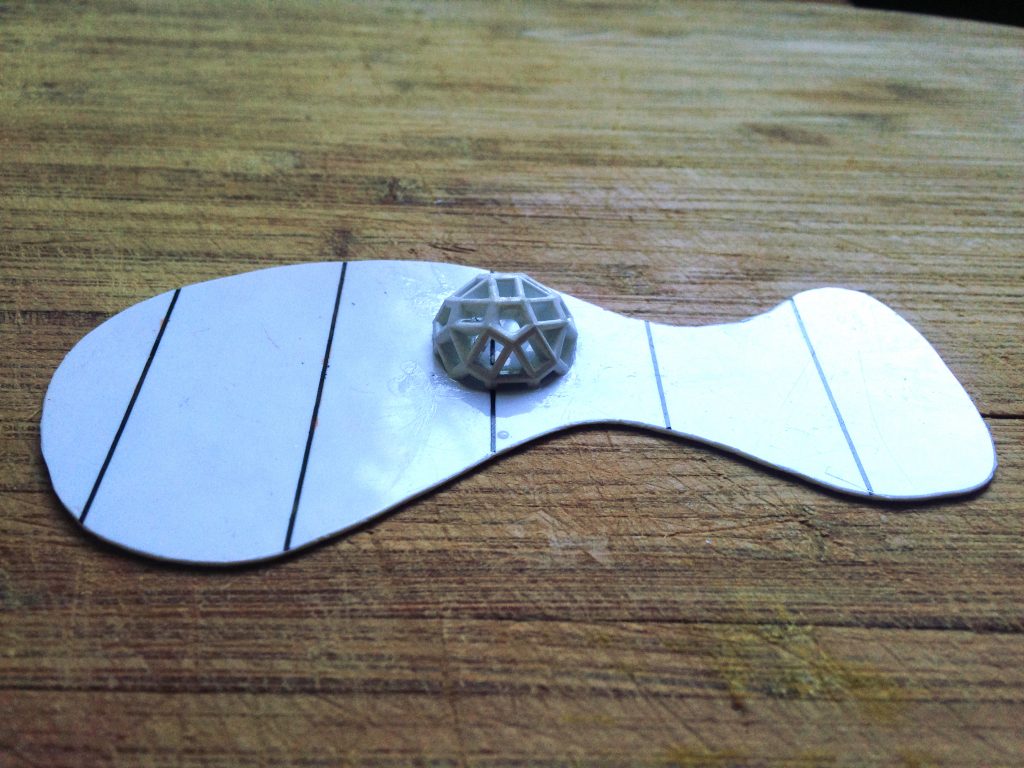
Next we will superglue one of the half Zometool parts onto the whiteboard shape as you can see above. Turn one of the half Zometool shapes so that the newly sanded edges face up and place a very small dot of superglue onto each of the newly cut parts. Quickly turn the half Zometool onto the whiteboard shape glue side down. This may sound obvious but do be careful not to get superglue on your fingers.
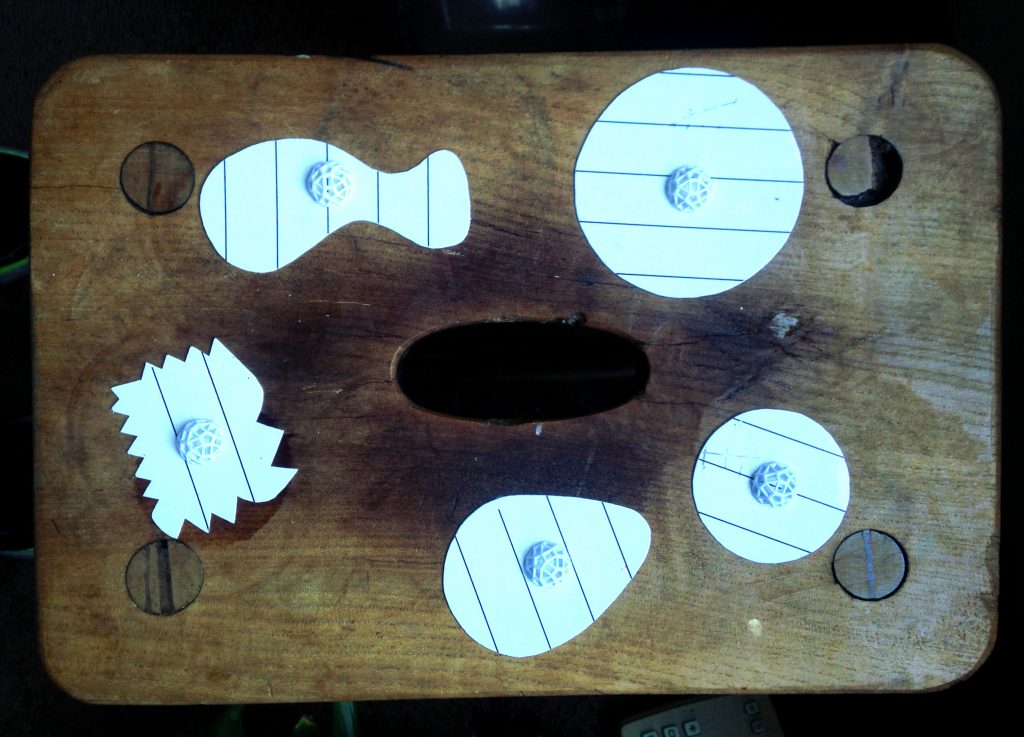
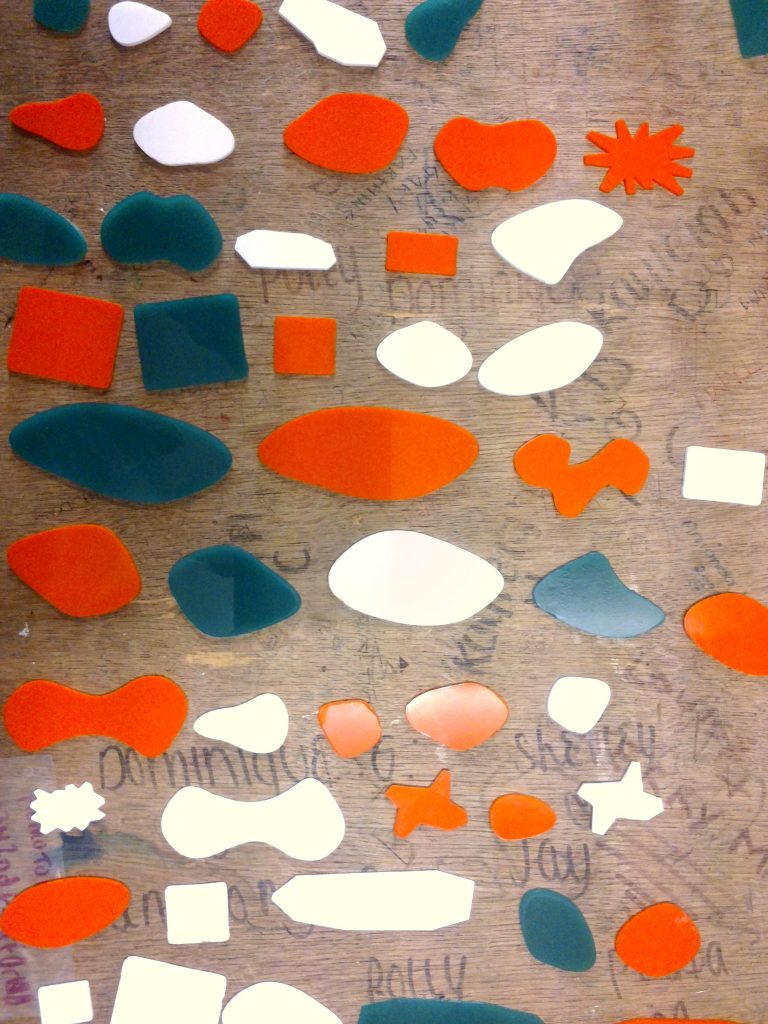
Repeat this process until you have glued half a Zometool to each of your whiteboard shapes, then you are ready to start drawing and writing thoughts, feelings and memories onto the shapes and connecting them together.