07 Adding images to thoughts in StarLogo TNG

This guide will show you how to customise 3D Models of thoughts, by adding images.
This guide instructs you to…
Locate the texture Files for the 3D models in StarLogo TNG
Redesign the shapes textures, adding images to the 3D model of a thought.
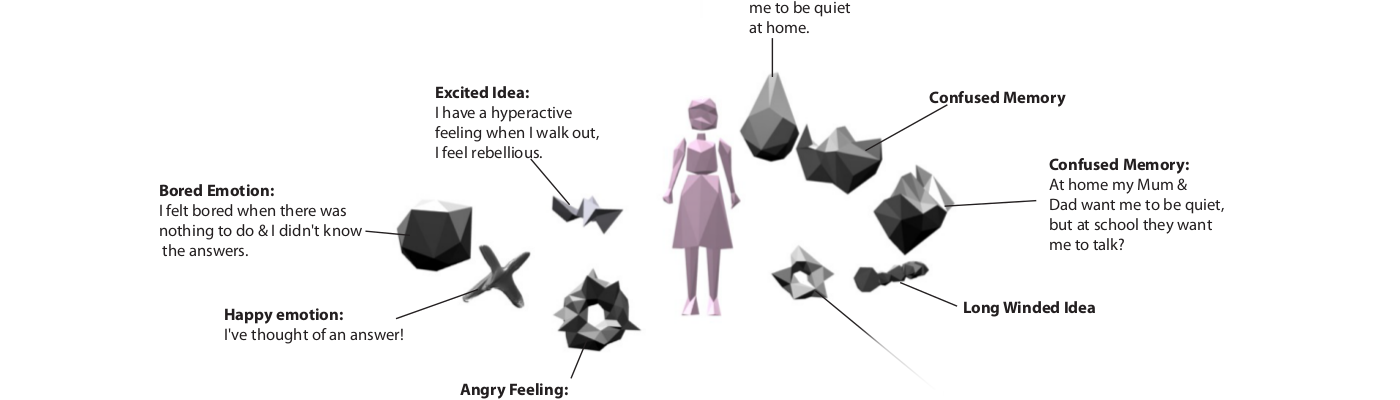
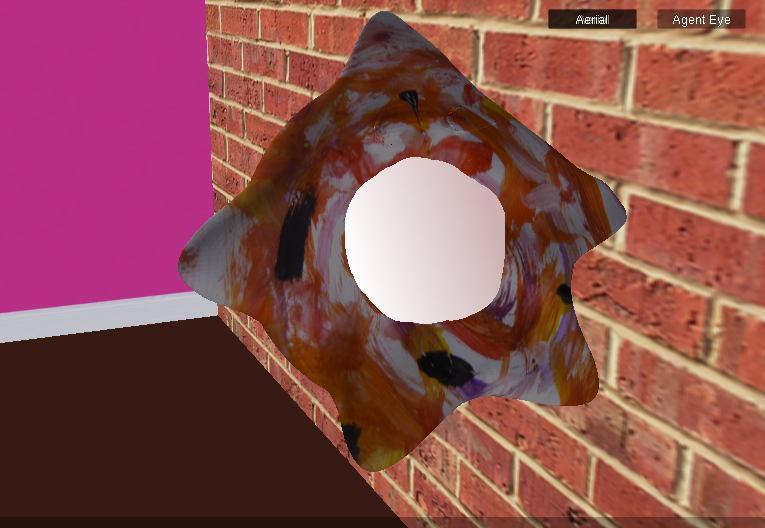
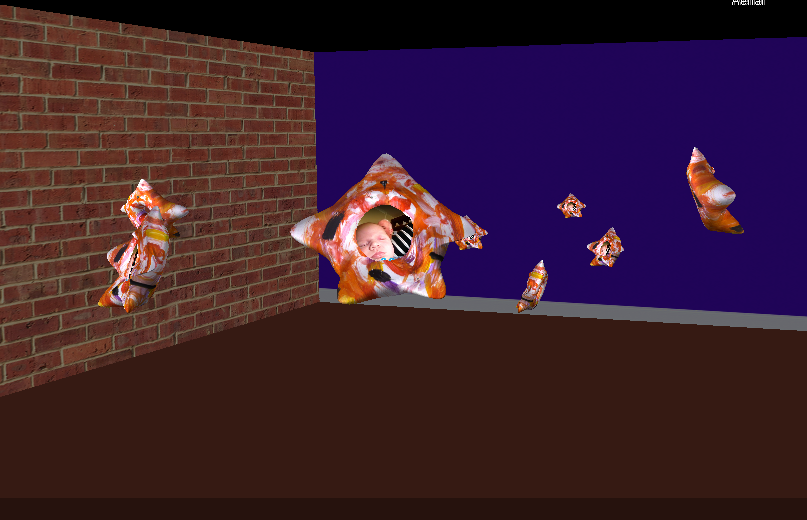
Example of a 3D model of a thought with an image on it.
To do this activity you will need to…
Download & Unzip 3D models of thoughts from Flunstellas.org and copy them into a new folder called Flunstellas, in Applications/Starlogo tng/Models for Mac or Program Files/StarLogo TNG/Models for Windows.
Viewing & Using the 3D Flunstellas Shape Library within StarLogo TNG
In the Blocks Window,
– Click on ‘Edit Breeds’.
– Click ‘Add’ another Breed.
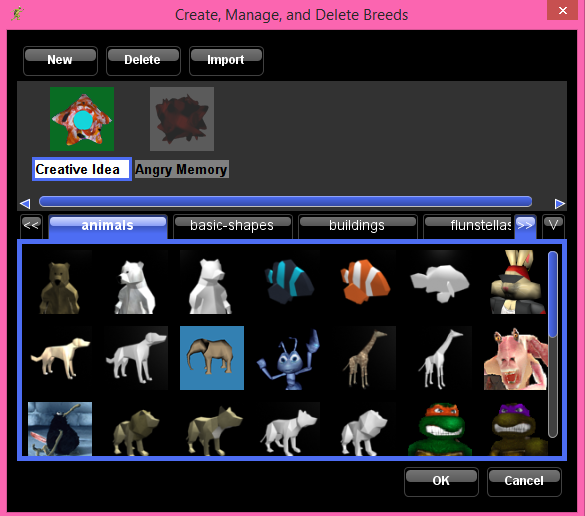
– Navigate along your 3D model libraries by clicking on the ‘>>’ button, (highlighted here in blue) to the right of the 3D models library name tabs.
Alongside the usual 3D models, you should now also find the Flunstelas models that you have copied across into the StarLogo TNG models folder.
Choose a shape to use for your first Flunstella and set up a new project with it. For instructions as to how to do this and to set your project in a room with walls click here.
In the SpaceLand window.
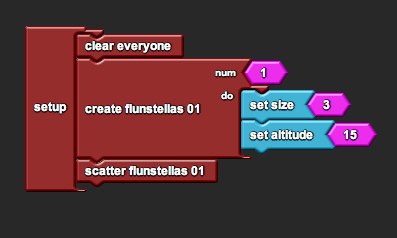
– Click ‘SetUp’, you should find your 3D model of a thought in SpaceLand.
Have a look at the thought shapes, note that each 3D Thought shape has a flat white space at the back end. This is where we will add images to it.
Save your project, ‘File/Save As’
Close StarLogo TNG, you will need to close & re-open it every time you add, or alter a model or its texture.
Preparing images for your 3D model of a thought.
Each Flunstellas model has been designed so it can easily be customized, they each have a flat white patch around their back.
To place an image on this blank patch on the thought, you just need to locate the image file that is used to texture the shape and edit it in Paint, Photoshop or Gimp.
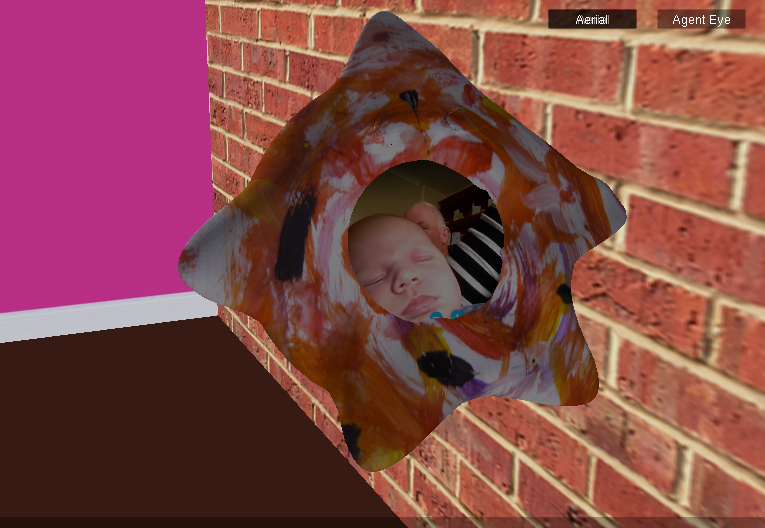
A 3D model of a thought with image content.
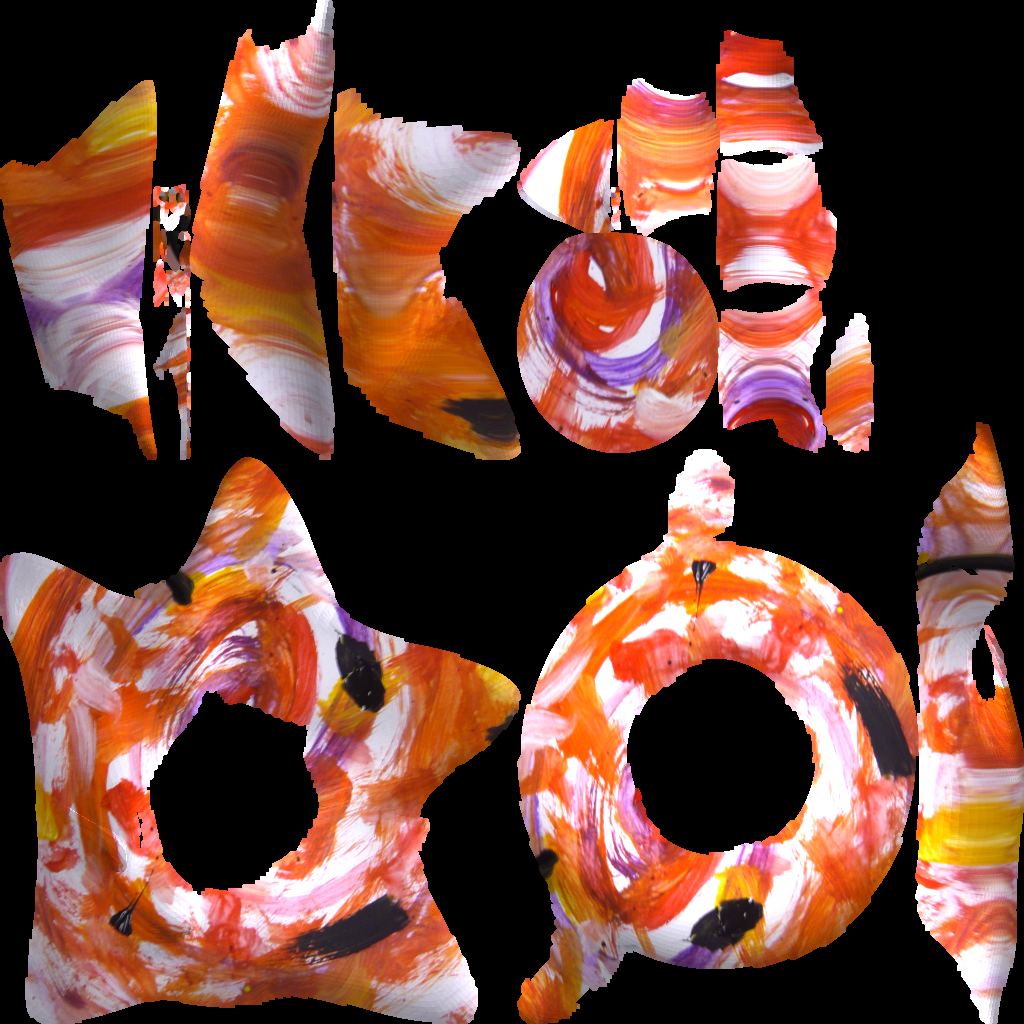
Image file for the main body texture of a 3D model of a thought.
Textures
3D Shapes in StarLogo TNG have 2D image files wrapped around them which are called Textures. They work in a similar way to wrapping paper, or mathematical nets.
We are going to add content to our 3D Flunstellas Shapes by redesigning their 2D texture files.
Locating Texture Files
To locate the 2D texture files that are wrapped around these 3D Flunstellas shapes go to…
Applications/Starlogo tng/Models for Mac or Program Files/StarLogo TNG/Models for Windows.
Here we find one folders for each 3D model.
– Open one of the folders.
StarLogo TNG 3D model file breakdown.
The ‘.obj’ file is the 3D model. The OBJ file format is widely used and is one of the simplest. It is basically a list of coordinates that describe the geometry of the 3D object. You can open the .obj file in word or notepad and read it.
The ‘.mtl’ file tells the computer which image files to use as textures and where they should go on the 3D model. Again you can open it in a word processing program.
The default_icon.png is a 64px X 64px image file, used to make Thumbnails within StarLogo TNG . Edit this to create a custom thumbnail for your shape in StarLogo TNG. This file must be 64 x 64 pixels and must be called default_icon.png.
The .png or .jpg file(s) is the 3D shapes texture file, this is the main file to redesign and put our content in.
Some shapes have two textures, some have just one.
3D model in StarLogo TNG before editing.

3D model in StarLogo TNG after editing
If you are editing shapes that have only one .png texture file.
Open the texture file in image editing software of your choice e.g. GIMP, Photoshop, Pixlr or Paint and be careful to only edit within the white space in the centre. Anything you design in this space, will appear on the flat space at the back of the Flunstella. Anything outside of the white will overlap with the rest of the models texture.
If you are editing a shape that has two texture files.
One of the textures files is for the body of the shape and will be full of colourful patterns, this is to be left alone. The other .png is for our design, it should be either a flat square of colour or a white shape on a black background (see above). This is the file to be edited, anything you design on the white part of this image, will appear on the flat blank space at the back of the Flunstella.
Texture file before editing.
Texture file before editing.
StarLogo TNG does not update changes to 3D models whilst it is running.
If it was open whilst you were making these changes you will need to close StarLogo TNG and open it again to view changes.
To quickly view changes you have made to 3D models or textures it is useful to view them using MeshLab, which is a free 3D model viewer and mesh editor.
Viewing & Using your newly designed 3D Flunstellas Shape in StarLogo TNG
Open StarLogo TNG
Open the .sltng project you saved earlier.
In the Blocks window, open ‘Edit Breeds’ and select one of the Flunstellas Breeds you had already added, or add a completely new one if you like.
While you still have your Flunstella Breed selected, browse to find your redesigned thumbnail.
Click on your redesigned thumbnail, and close the ‘Edit Breeds’ window by selecting ‘OK’
In the ‘SpaceLand Window’, click on the ‘SetUp’ tab again to set up your program.
Look around spaceland for your new 3D Shape, it should now also have your image on it.